|
This page last changed on Mar 11, 2008.
eDocs Home > BEA AquaLogic Data Services Platform Documentation > Data Services Developer's Guide > Contents How To Change a MappingThis topic describes how to change a mapping in a default update map generated in Studio.
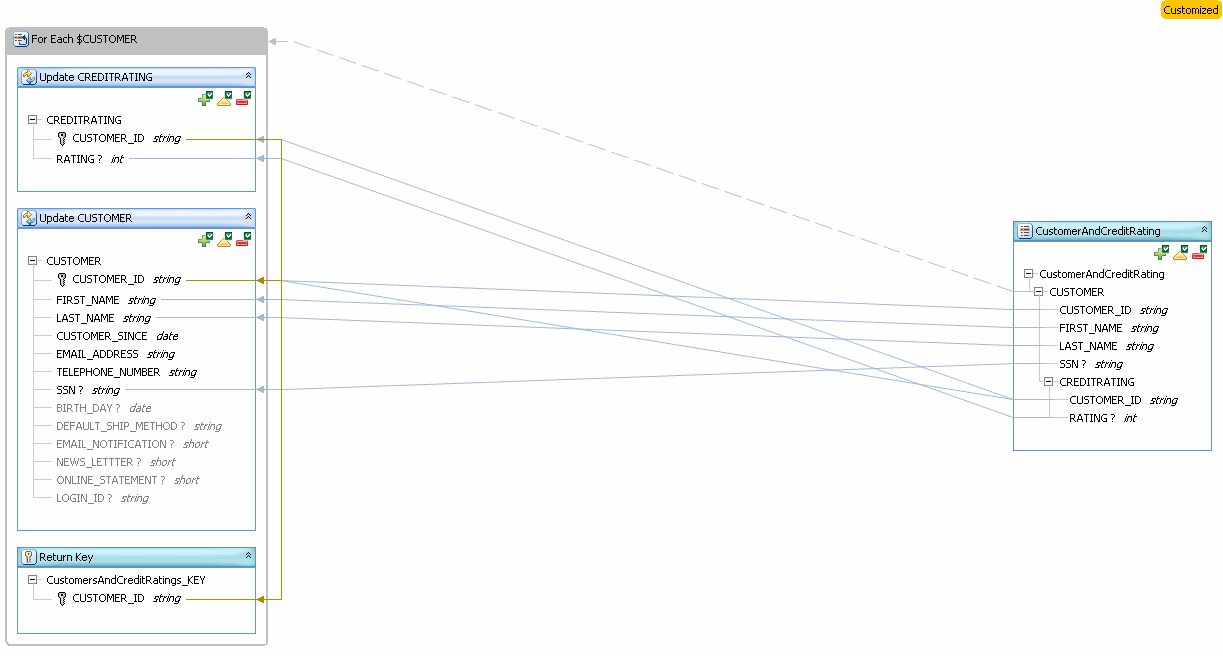
OverviewOnce you have generated an update map, you can customize it by adding or removing mappings, changing an XQuery expression, adding dependencies, or changing the return type--all in Studio. A Sample Update Map
Initially, an update map is generated from the primary read function of a logical data service and changes with the read function. Once you customize an update map, it is no longer linked to the primary read function. If you change the primary read function after customizing the update map, either in a dialog box or in the Source tab, the update map does not change as a result. To re-link the update map to the primary read function, you must revert customizations.
ExampleTo change a mapping:
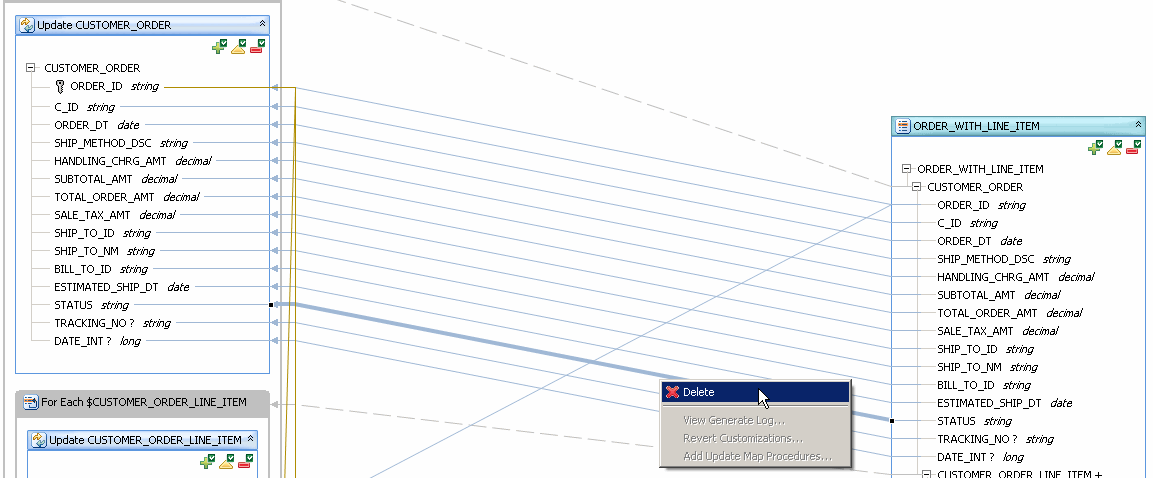
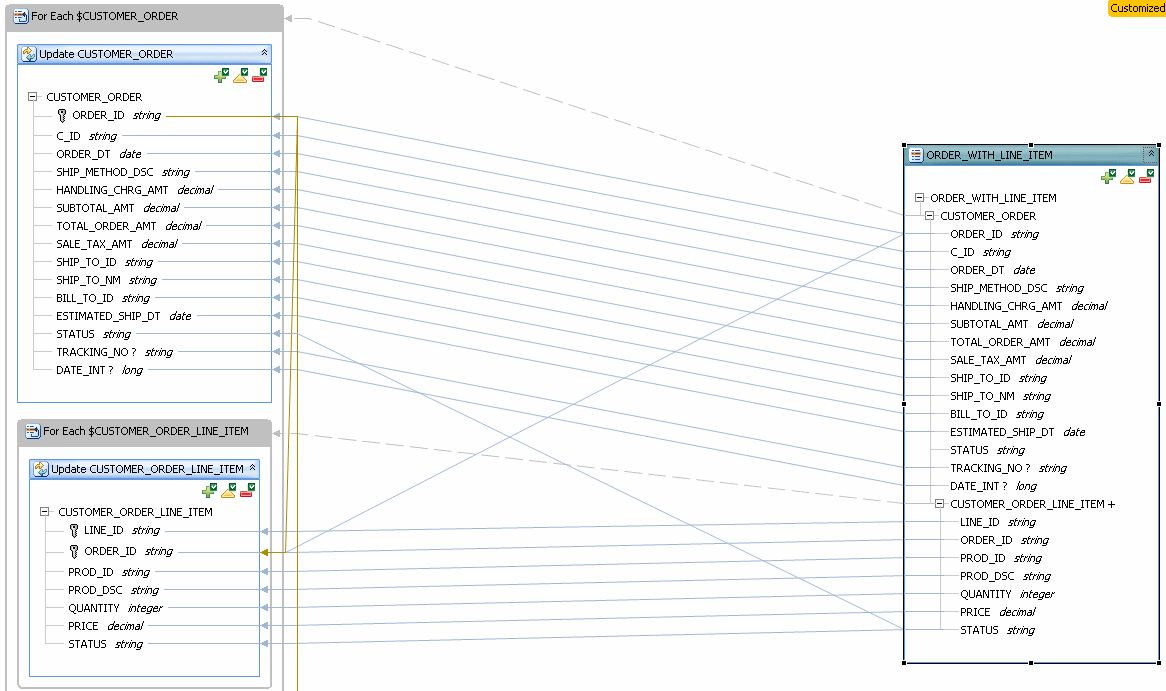
The CustomerOrderLineItem ServiceIn this service, you can draw a new mapping between elements of the same type.
In this example, the child element (CUSTOMER_ORDER_LINE_ITEM) has a multiple cardinality, while the parent element (CUSTOMER_ORDER/STATUS) has a single cardinality. You can see this by checking the XML return type in the Overview tab. By default, the first child element value is read to update the data source. You can override this behavior by adding a dependency or writing a custom update function. When you map one element to another, be sure that the elements have the same or compatible data types. To be compatible, data types must be in the same type hierarchy in the XML Schema DataTypes specification, such as xs:integer and xs:decimal. These types are cast automatically. If you draw a mapping between two elements of different types and hierarchies, you must cast one data type to the other, using a built-in cast function or a custom cast function. See AlsoConceptsHow Tos |
| Document generated by Confluence on Apr 28, 2008 15:57 |
 and not disabled
  .
.